Preliminary tests for Blood
Preliminary or presumptive tests are quick and inexpensive tests done to determine if the evidence in question can potentially be blood or not. Preliminary tests offer high sensitivity but low specificity, i.e. substances other than blood can also give positive results to these tests. Therefore, a positive preliminary test must be followed by confirmatory tests to confirm the presence of blood.
Principle of Preliminary Blood Tests
Preliminary or Presumptive tests for blood are catalytic tests based on the reaction of iron present in haemoglobin to carry out oxidation of a reagent. The oxidation reaction is facilitated by a strong oxidizing agent such as hydrogen peroxide (H2O2). The reagents undergo a change in colour during this reaction, which can be used as an indicator of the presence of blood.
Fe4+ + Reduced Reagent (colour A) + H2O2 → Oxidized Reagent (colour B) + H2O + Fe3+
In this Chapter:
Phenolphthalein Test (Kastle-Meyer Test)
Benzidine Test (Adler’s Test)
Luminol Test
Leucomalachite Green Test (LMG Test)
1. PHENOLPHTHALEIN TEST or Kastle Meyer Test
In 1901, Joseph Hoeing Kastle and Oliver March Shedd found that plant peroxidases could cause the oxidation of phenolphthalin to phenolphthalein in slightly alkaline solutions. In 1903, Erich Meyer noticed a similar reaction caused by blood. Since then, the phenolphthalin test (also known as the Kastle-Meyer test) has been used for the preliminary identification of blood.
This test is based on the reaction of blood to carry out the oxidation of phenolphthalin (colourless reduced form) to phenolphthalein (pink oxidized form) in the presence of hydrogen peroxide (H2O2).
Preparation of Phenolpthalein Reagent:
In a beaker, add 2g of phenolpthalin, 20g potassium hydroxide (KOH), 20g zinc dust, 100ml distilled water, and mix well. KOH provides an alkaline medium for the reaction to take place. Zinc acts as a reducing agent which keeps phenolpthalin in a reduced form to prevent from natural oxidation of the reagent by air.
Procedure:
Wipe and transfer some of the sample on a cotton swab
Add 1-2 drops of 95% ethanol to lyse the cells.
Add 1-2 drops of Phenolphthalin reagent
After a few seconds, add 1-2 drops of 3% H2O2.
Rapid colour change to a bright pink colour is a positive indicator of blood.
2. BENZIDINE TEST or Adler’s Test
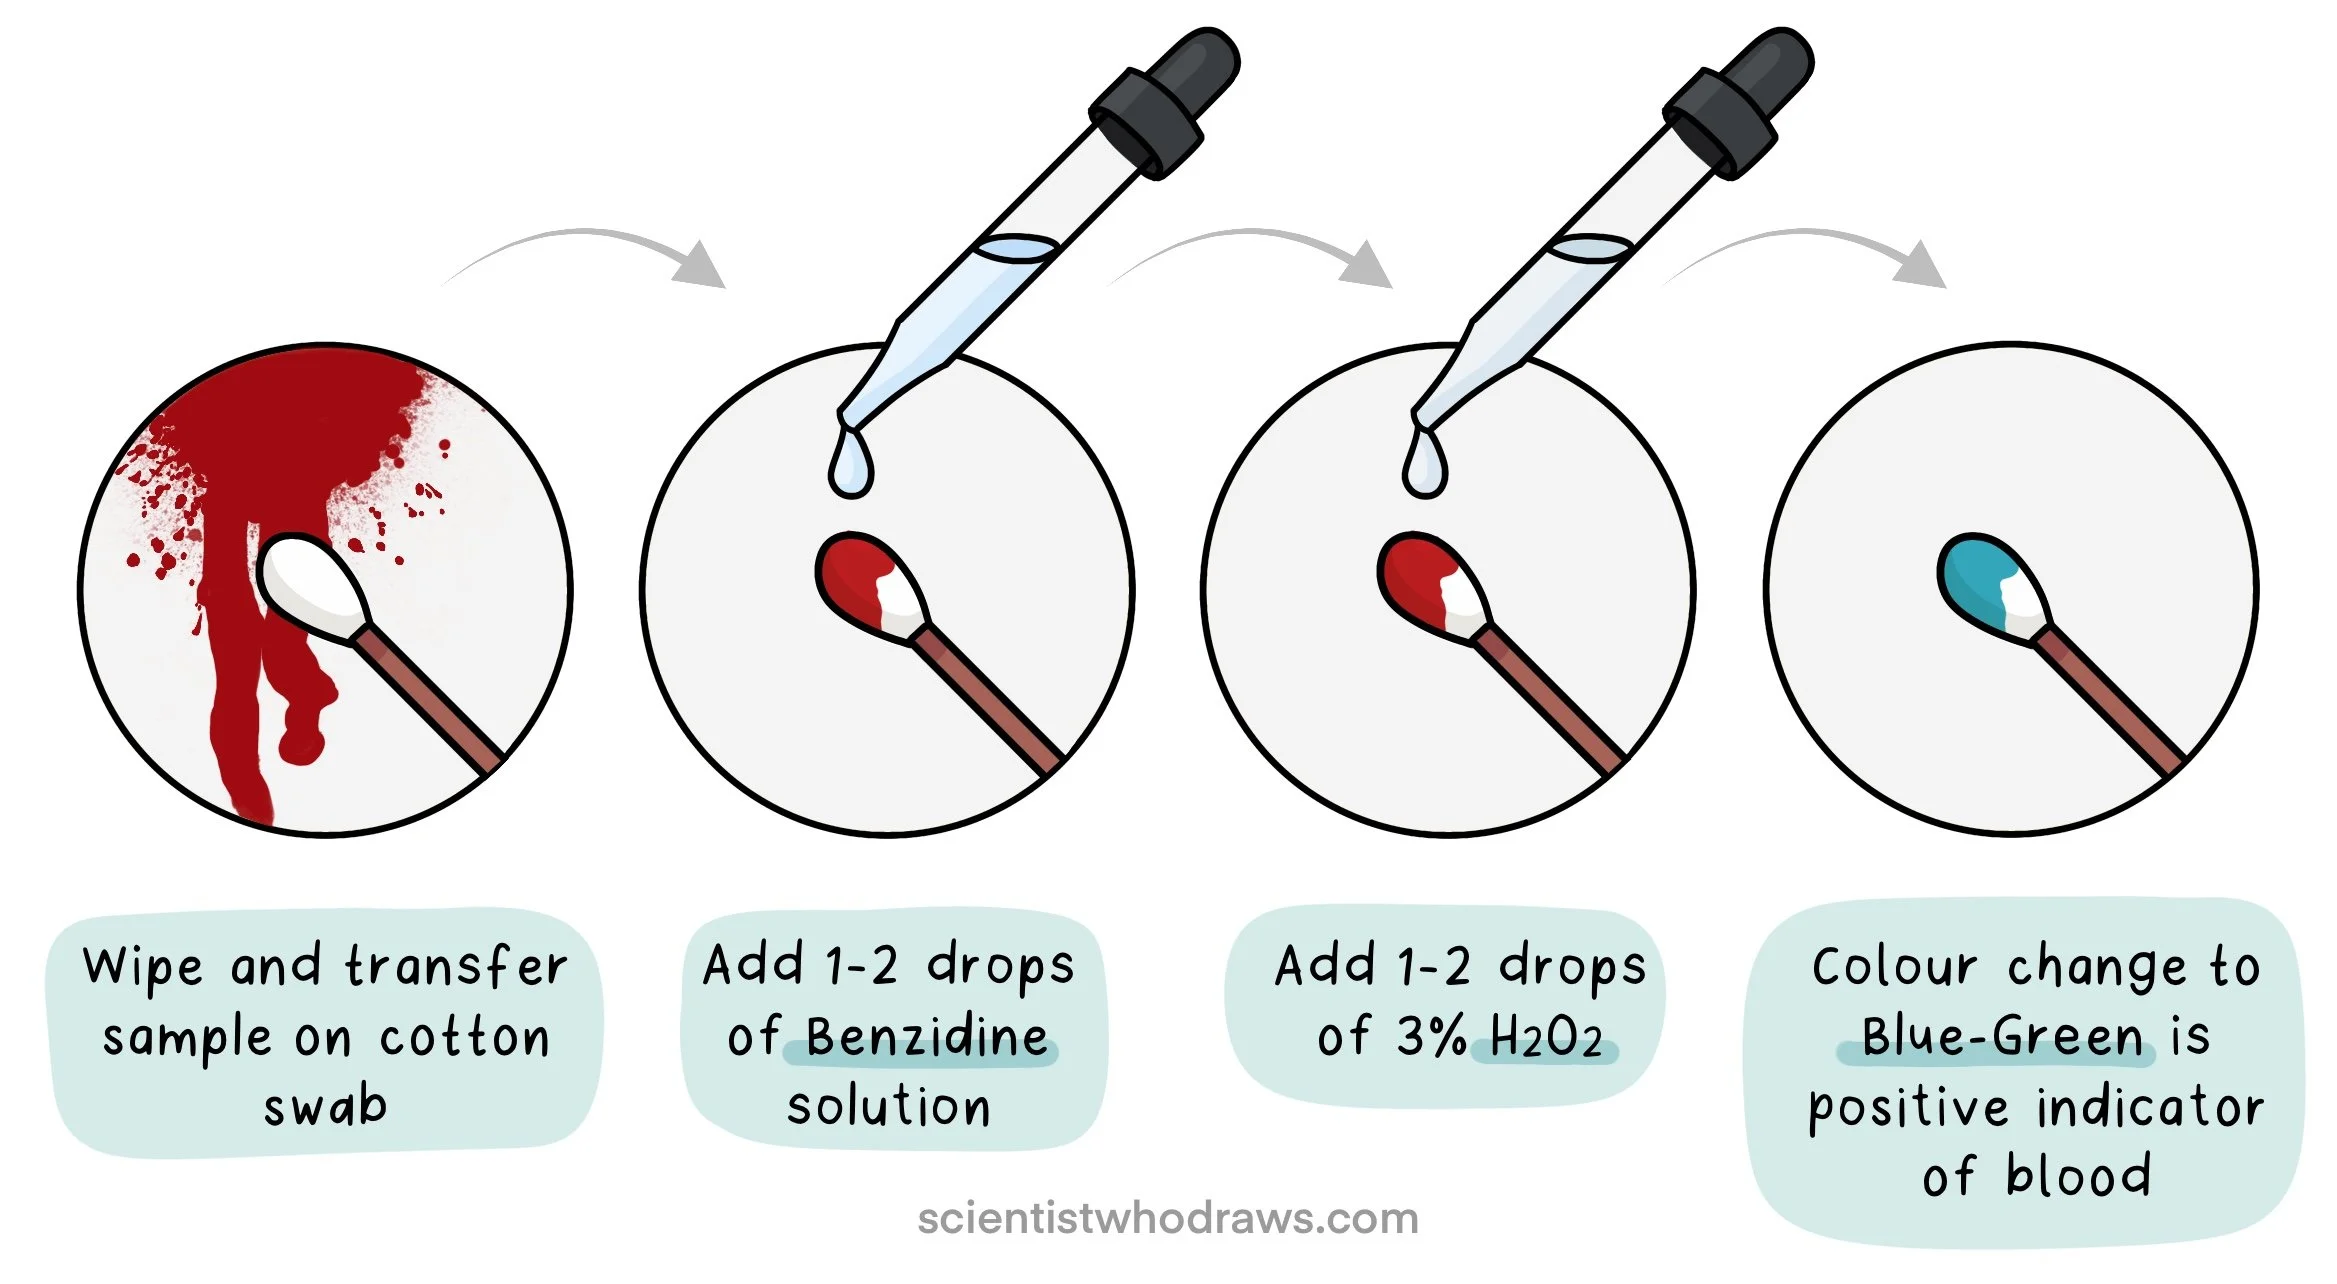
The benzidine test was discovered in 1904 by Adler and Adler. It is based on the presence of a blue-green colour when benzidine is oxidized in the presence of blood and hydrogen peroxide (H2O2). The benzidine colour test or Adler’s test was the most commonly used preliminary test for blood. However, in 1988 benzidine was identified as a carcinogen and its use has been discontinued.
Preparation of Benzidine solution:
To a beaker, add 0.4g of benzidine and 20ml acetate buffer. Acetate buffer is prepared by adding 5g of Sodium acetate (CH3COONa), 43ml glacial acetic acid (CH3COOH) in 50ml distilled water. Mix the solution and store it in a dark-coloured bottle.
Procedure:
Wipe and transfer some of the sample on a cotton swab. In case of dry blood stains, moisten the swab with deionized water, ethanol, or saline.
Add 1-2 drops of Benzidine solution
Add 1-2 drops of 3% H2O2.
A blue-green colour indicates the presence of blood in the suspected sample.
3. LUMINOL TEST
The Luminol test was developed in 1937 by Walter Specht for the identification of traces of blood or latent blood. Instead of a colour change, the oxidation of luminol in the presence of blood (catalyst) and hydrogen peroxide (oxidizing agent) produces glowing blue-coloured light. The process of generating light by the use of chemicals is called chemiluminescence. Luminol can detect the presence of blood at dilutions of up to 1:1,000,000, or 1 part per million.
Figure: Luminol Test for Identification of Blood
Preparation of Luminol solution:
Fill a beaker with 100ml of water. To it, add 0.18g of luminol, 3ml of sodium hydroxide solution (NaOH), and 1ml of 3% hydrogen peroxide (H2O2). NaOH provides a basic medium for the solution. In a basic solution, luminol forms an anion (a negatively charged molecule) which can be oxidized by an oxidizing agent like H2O2.
Procedure:
Darken the environment by switching off lights and blocking out as much light as possible.
Spray the suspected area with luminol solution at a distance of about 2 feet.
An immediate faint to intense blue coloured luminescence indicates the presence of blood.
Photograph the area immediately as the luminescence lasts for 30 seconds to 1 min.
As luminol solution is water-based, it can cause the dilution of blood and sometimes interfere with the subsequent DNA analysis. Therefore, it is not used routinely in forensic investigations.
4. LEUCHOMALACHITE GREEN TEST
The leucomalachite green (LMG) test was developed by Adler and Adler in 1904. It is based on the reaction of blood to carry out the oxidation of leucomalachite green in the presence of hydrogen peroxide (H2O2). The reduced form of LMG is colourless, which turns into a greenish-blue colour when oxidized.
Preparation of Leucomalachite Green (LMG) reagent:
To a beaker, add 0.25g leucomalachite green, 100ml glacial acetic acid, 150ml distilled water, 5g zinc dust and mix well.
Procedure:
Wipe some of the suspected blood stains on a swab. In case of dry blood stains, moisten the swab with deionized water, ethanol, or saline.
Add 1-2 drops of LMG reagent followed by 1-2 drops of 3% H2O2.
An immediate greenish-blue colour change indicates the presence of blood.


